When we think of Arduino, the first thing that comes to mind is usually a blinking LED or a basic temperature readout. But what if you could take it a step further and bring all that sensor data into a beautiful, live-updating web dashboard? That’s exactly what this project does.
In this guide, I’ll walk you through how I combined three common sensors — DHT11 (temperature and humidity), HC-SR04 (ultrasonic distance), and HM photosensor (light intensity) — into a single Arduino project, then piped the data to a local Flask-powered web dashboard. The result? A lightweight, elegant, and educational IoT-style setup you can build and expand on.
Why This Project?
Arduino projects are fantastic for learning about hardware, but they often stop at the Serial Monitor. By integrating with Flask, a popular Python framework, you can make your project feel like a real web-connected device — even without using Wi-Fi or the Cloud.
This project is perfect if you:
- Want to visualize sensor data in real-time.
- Love the idea of combining Python with Arduino.
- Are looking for an engaging weekend build or a classroom demo.
What You’ll Need
Hardware
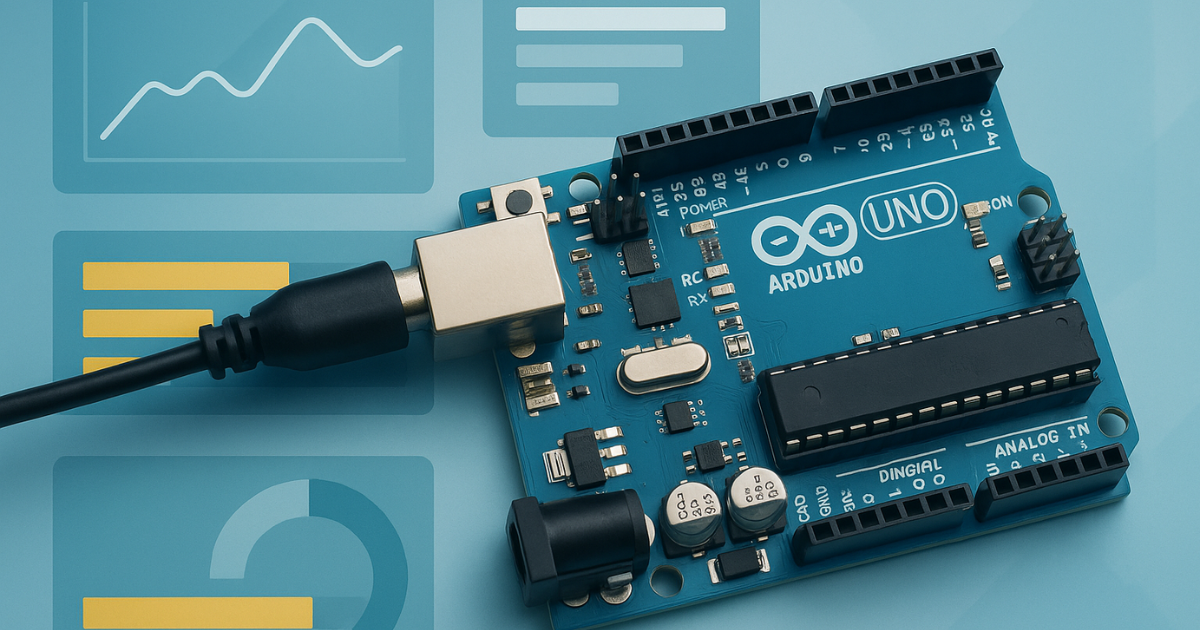
- Arduino Uno (or compatible board)
- DHT11 temperature & humidity sensor
- HC-SR04 ultrasonic distance sensor
- HM light sensor module (with analog output)
- Jumper wires & breadboard
Software
- Arduino IDE
- Python 3.8+
- Flask
- PySerial
- VSCode, Pycharm or any other IDE/Text Editor for the Python code.
Wiring the Sensors
Here’s a quick summary of how each sensor connects to the Arduino in this project code:
DHT11
- S (signal) → D7
- (VCC) → 5V
- (GND) → GND
HC-SR04
- Trig → D9
- Echo → D10
- VCC → 5V
- GND → GND
HM Photosensor
- VCC → 5V
- GND → GND
- Analog Out → A0
Arduino Code
The Arduino code reads from all three sensors and sends formatted output over the serial port every second. It prints everything on one line for easy parsing:
Serial.print("Temp: ");
Serial.print(temperature);
Serial.print(" C\tHum: ");
Serial.print(humidity);
Serial.print(" %\tDist: ");
Serial.print(distance);
Serial.print(" cm\tLight: ");
Serial.println(lightLevel);
This format is great for piping into a Python script. Each line includes temperature, humidity, distance, and light values with clear labels and tab spacing.
Setting Up the Flask Server
With the Arduino code uploaded, we shift over to Python. Flask will read the serial output and render it in a web page that updates every second. Here’s what happens:
- A background endpoint (
/data) reads from the serial port and sends the data as JSON. - The homepage (
/) uses JavaScript to fetch that data and update the interface. - The app handles errors gracefully, showing the last known value and a red or green LED indicator.
The core packages you’ll need are:
pip install flask pyserial
Then simply run:
python app.py
…and head to:
http://127.0.0.1:5000

You can also use your virtual environment if needed, the requirements.txt file is on the Repo also.
The Dashboard Interface
The frontend is built using basic HTML, CSS, and JavaScript. It includes:
- A clean, centered layout
- Real-time updates every second
- A colored indicator LED for success/failure
- A visual light bar that reflects ambient brightness
No frameworks required — just vanilla JS and good style.
Bonus Features
Here are a few cool add-ons that you can build once the core project is working:
- Graph historical sensor values with Chart.js
- Export data to CSV or log files
- Connect via Wi-Fi (ESP8266/ESP32) instead of USB
- Deploy the dashboard with ngrok or on a Raspberry Pi
Project Repository
You can find the full code, including the Arduino sketch and the Flask app, on GitHub:
Final Thoughts
This project is the perfect blend of software and hardware. It introduces you to reading from multiple sensors, formatting data for serial output, and building a real-time dashboard with Python and Flask.
Whether you’re new to Arduino, getting started with Python, or just love making things blink, this project gives you a great foundation to build more complex IoT ideas. Plus, it’s fun to show off!
Happy tinkering!
Frequently Asked Questions
Q: How do I find the correct serial port on macOS?
Use ls /dev/tty.* before and after plugging in your Arduino. Look for something like /dev/tty.usbmodemXXXX.
Q: Can I use a different temperature sensor like DHT22?
Absolutely! Just update the Arduino code to use the appropriate library.
Q: Does this require internet?
Nope. It works entirely offline using local serial communication and Flask through USB.
Article Details
- Estimated build time: 30–60 minutes
- Difficulty: Beginner to Intermediate
- Skills covered: Arduino wiring, sensor integration, serial communication, Python + Flask web apps